There are numerous techniques for doing side grafts.

Side grafts place the scion on the side of the rootstock.

Photo example of a citrus side graft.

Citrus graft

Side grafting is usually performed as bench grafting with the rootstock potted and just coming out of dormancy.

The scion is dormant.

Photo showing an example of a birch side graft.

Birch graft

Illustration showing the preparation of the rootstock in two steps, from front and side views. In the first step a piece of bark and wood, about 1/4 through the stem is removed along one side. In the second step a second downward cut is made forming a thin 'tongue'.

Illustration showing the preparation of the scion in two steps, from a side view. In step one a long sloping cut is made at the base of the scion. In step two a second cut is made under the first forming a thin 'tongue' as made on the rootstock.

Illustration showing four steps to attach the scion and rootstock to complete the side graft. In step one the scion is slipped into the cut in the stock, the tongues interlocking and the cambium layers matching along one side. In step two the graft is wrapped with plastic tape. In step three the graft may be waxed to protect it. In step four, after the union has healed, the stock is cut off just above the scion.

A common side graft is for production of specialty Japanese maples (Acer palmatum). The next series of pages will describe side grafting in maple.

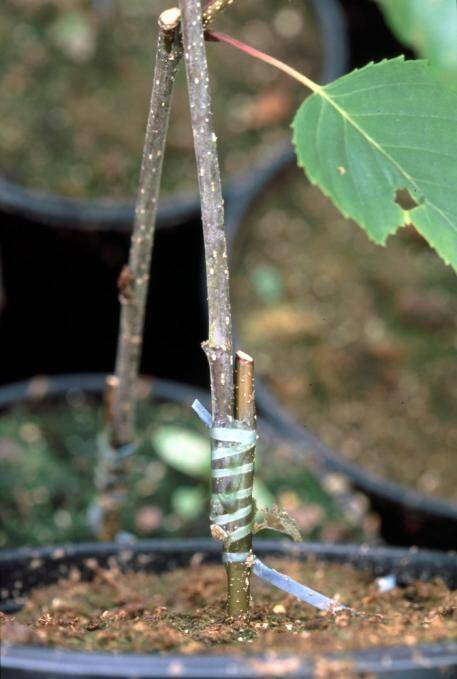
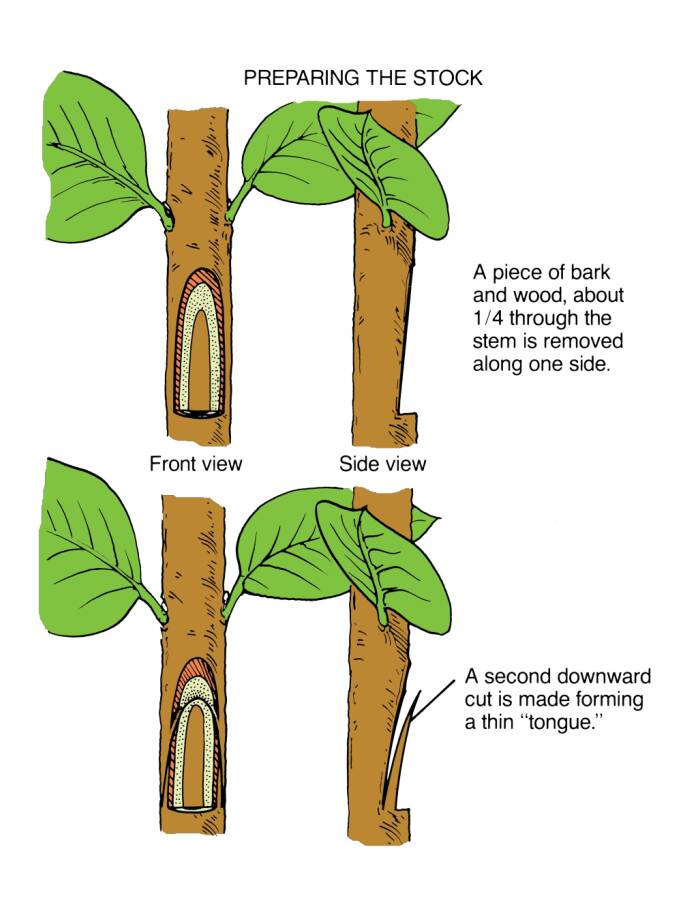
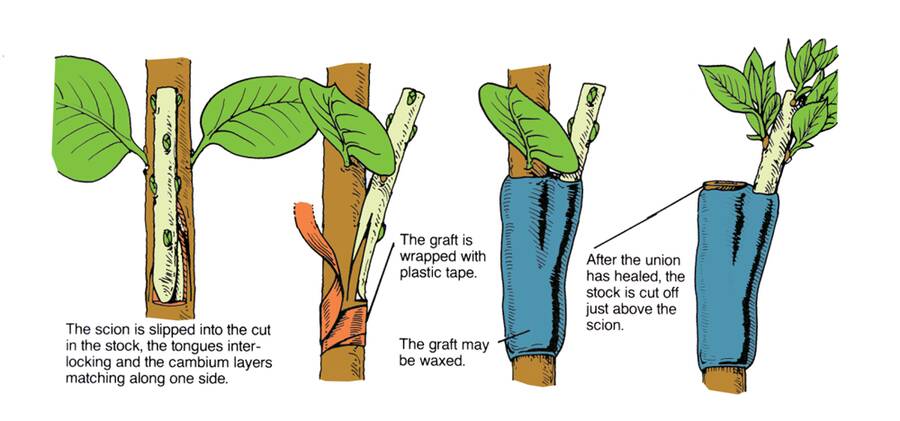
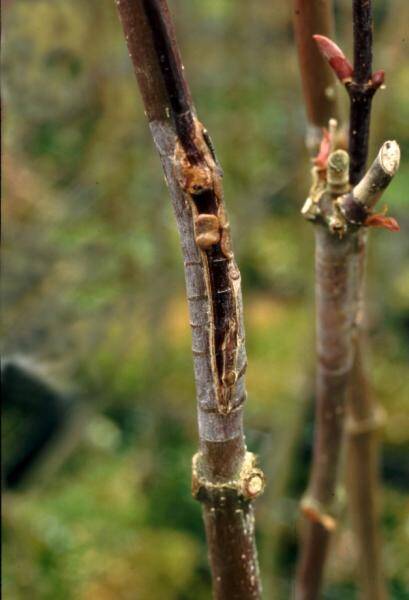
The scion is prepared by removing tissue from both sides of the scion. The scion is inserted into a downward cut in the rootstock.

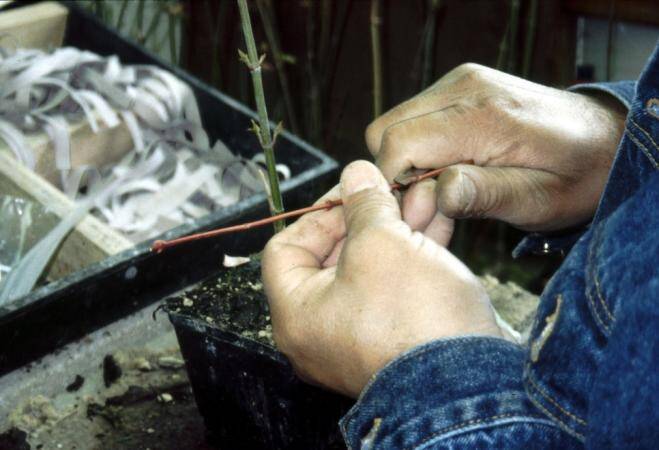
Notice the buds swelling on the rootstock indicating that it is ready for grafting.

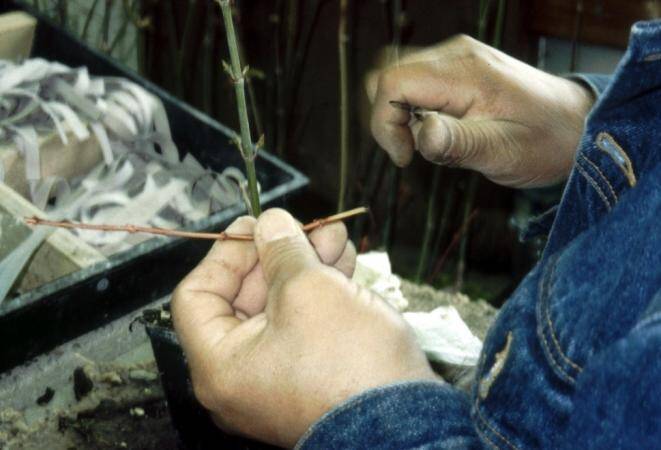
Cutting scion in Japanese maple graft.

Photo showing a Japanese maple scion being cut. Photo showing the Japanese maple scion with cut completed.

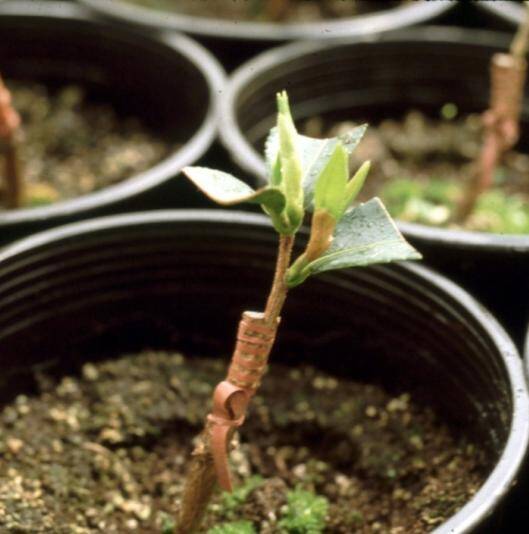
Tying the graft starts at the top of the graft and works its way down the stem. A slip knot allows the banding rubber to be removed easily.

Photo showing a graft properly tied with a banding rubber.

Photo showing completed graft beign placed in growing medium.

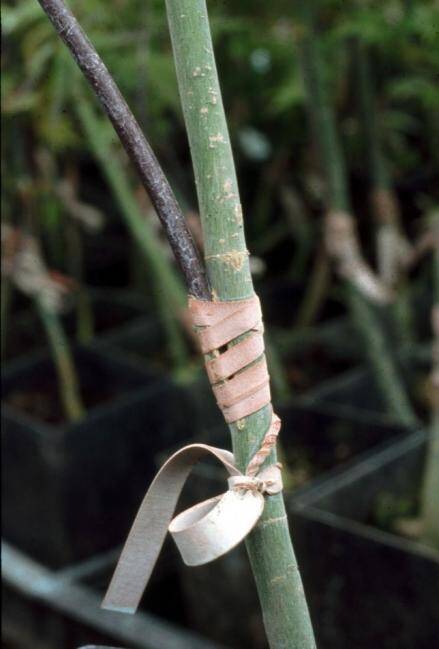
The scion and rootstock must be held firmly together and the cambial regions of both lined up.

The graft union is kept from drying out and the union wil be complete within a few weeks.

Photo of a side graft tied with plastic tape.

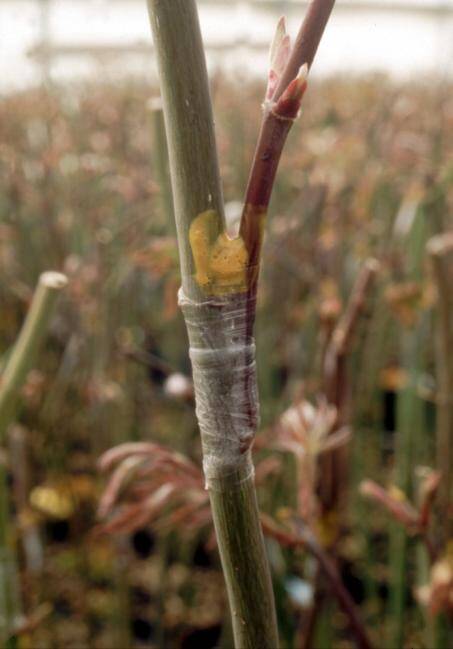
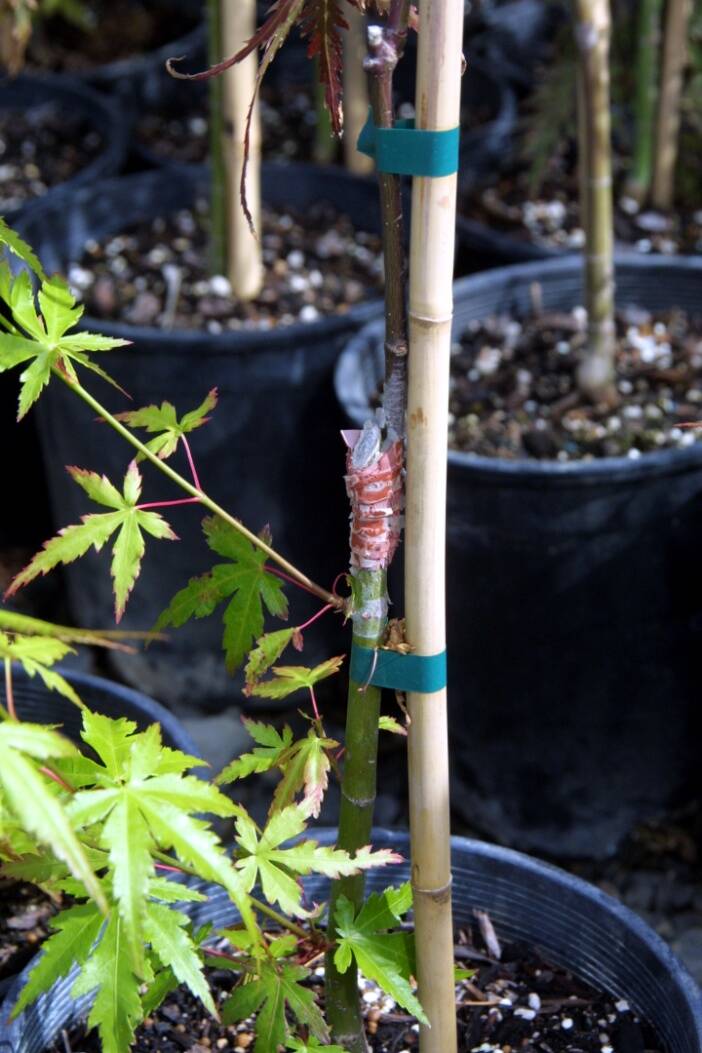
Tied with plastic tape.

Photo of a healed side graft.

Healed graft.

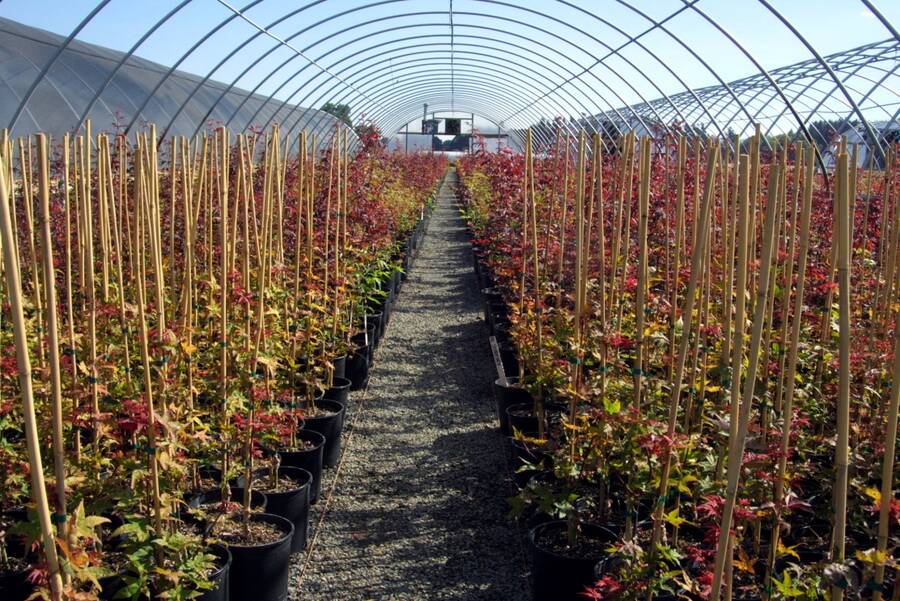
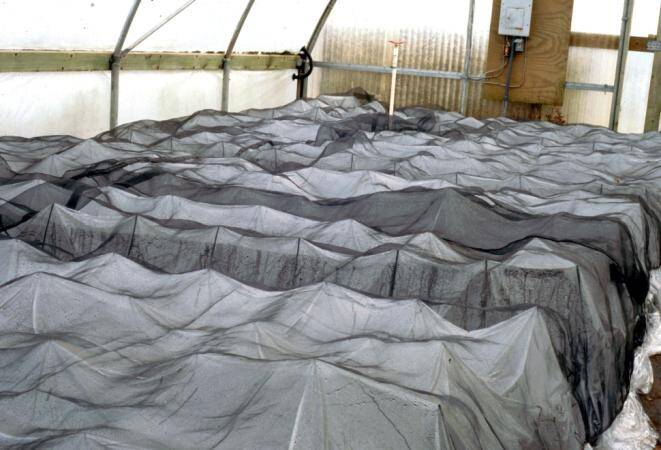
It is important to keep the graft union from drying out while it heals. One approach is to cover many grafted plants at the same time with a cover that reduces moisture loss.

Shown at the right is a cover made of a spin-woven cover to reduce water loss combined with a shade cloth to reduce heating from sunlight.

Photo showing the use of a cover for grafts inside a greenhouse environment.

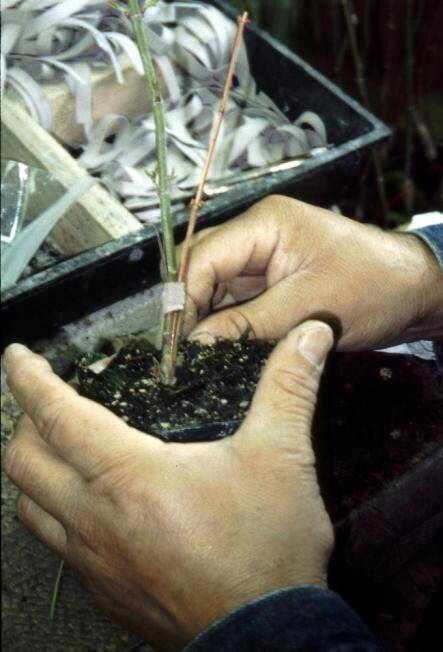
New scion growth needs to be supported with a stake.

Photo shwoing a greenhouse with many potted side grafts supported with stakes.

Detail photo showing how the scion is supported by the stake, with the scion bound lightly to the stake beside it.