Side wedge grafts are used for top grafts and top working.

It is used when the scion is smaller than the rootstock.

Side wedge grafts are made on one side of the rootstock.

Photo of an example of wedge grafting.

Illustration showing the preparing of the rootstock for wedge grafting. The first step shows making a vertical cut 2.5 to 5 cm (1 to 2 in.) long being made through the bark to the wood. The second step shows the bark on both sides of the cut being slightly separated from the wood.

Side wedge grafts for top working.

Illustration of preparing the scion. Three pictures, first of the uncut scion, then a frontal and side image of the cut scion. The scion should be about 10 to 13 cm (4 to 5 in.) long, 10 to 12 mm (3/8 to 1/2 in.) thick, and with 2 or 3 healthy vegetative buds. The basal ends should be cut to a V-shaped wedge, matching the opening in the stock.

Photo of a technician holding a finished scion.

Illustration showing the inserting of scions into rootstock in three steps. In the first step, the scion is gently tapped into the V-shaped opening in the stock, matching the cambium layers at a slight angle so that the cambium of stock and scion cross. The second step shows that the scion should be inserted at an angle so that the cambium layers of the stock and scion are closely matched, barely crossing each other. The third step shows after scions are in place all cut surfaces are thoroughly covered with grafting wax.

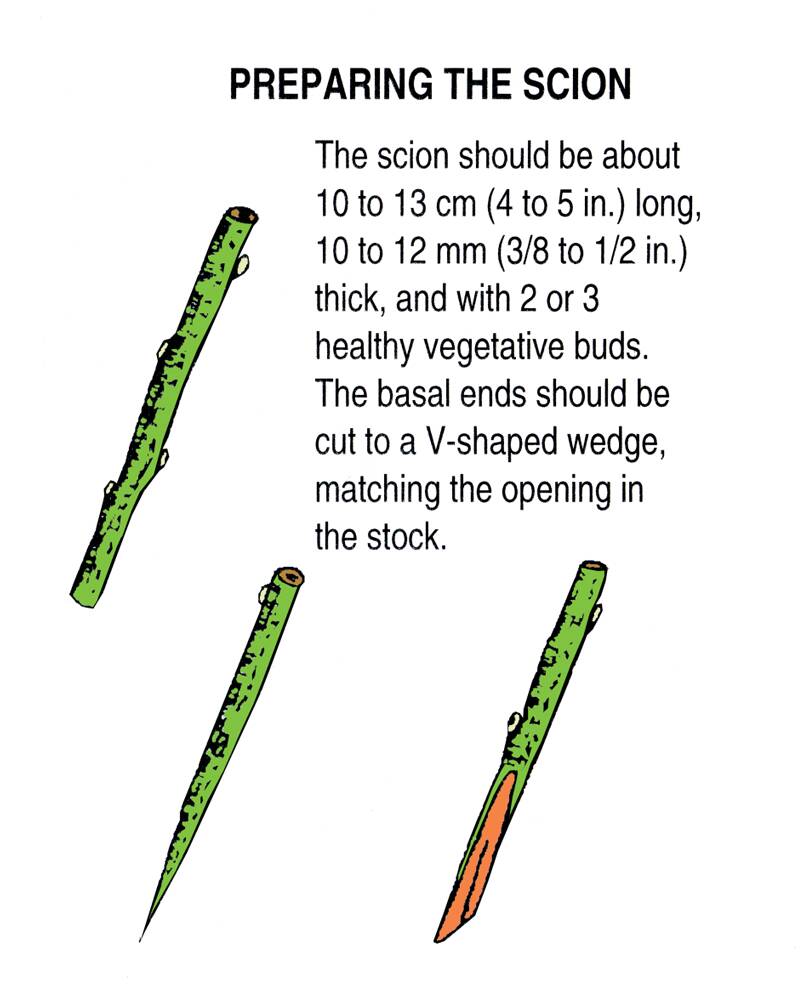
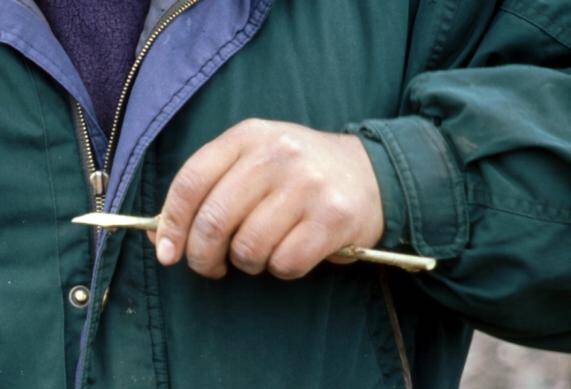
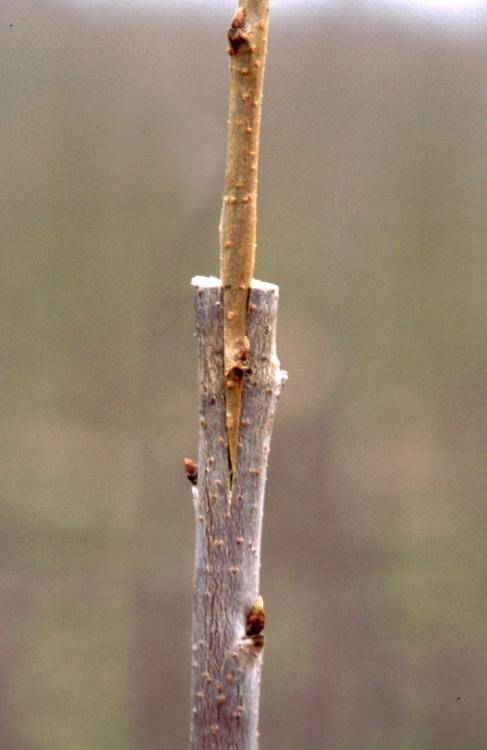
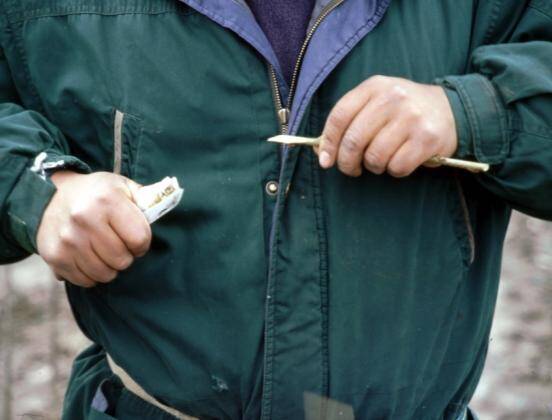
Side wedge grafting is also used for top grafts when the scion stem diameter is less than the rootstock's stem diameter. The scion is cut with a sharp grafting knife using a single motion. It is cut on both sides of the stem to form a wedge.

Photo of a technician cutting a scion.

Photo of a technician showing the finished scion after being cut.

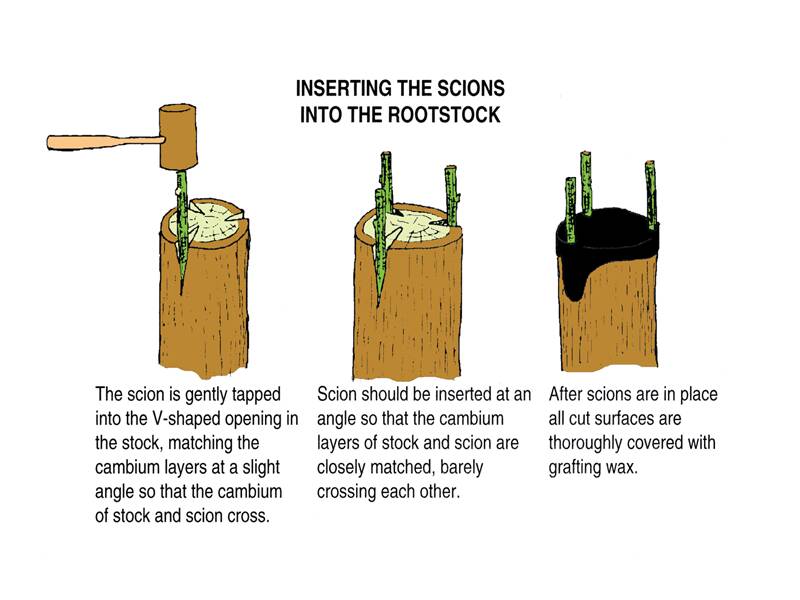
The scion is placed into the wedge-shaped cut at the top of the rootstock.

Photo of a technician inserting the scion into the top of the rootstock.

Photo of the finished wedge grafting, with the scion inserted into the top of the rootstock.

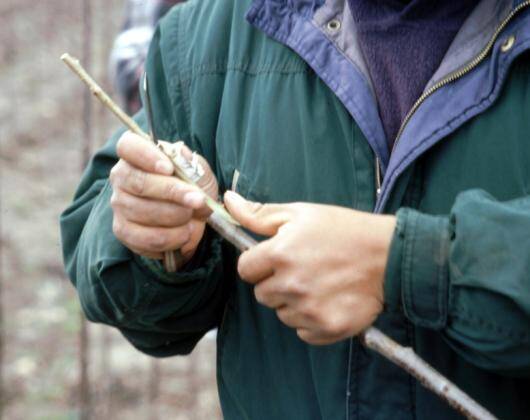
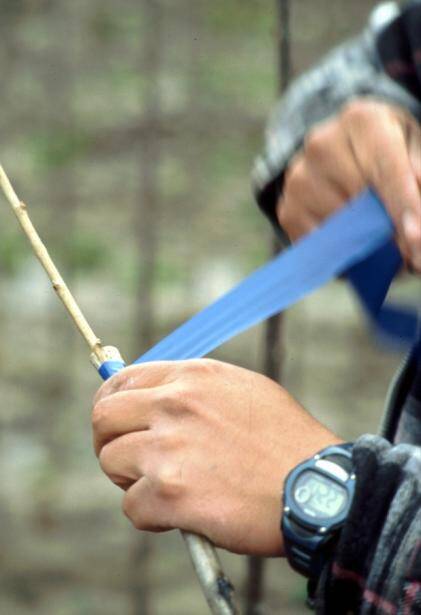
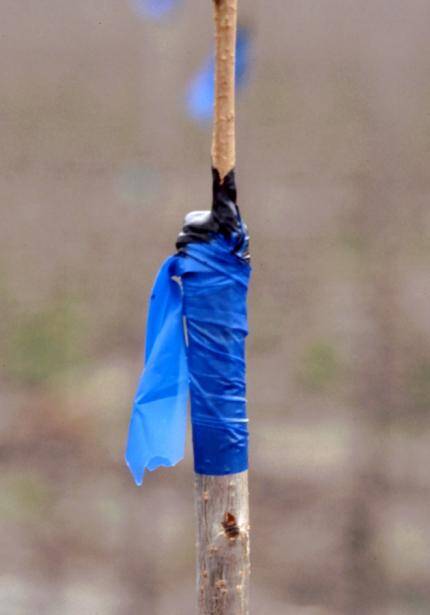
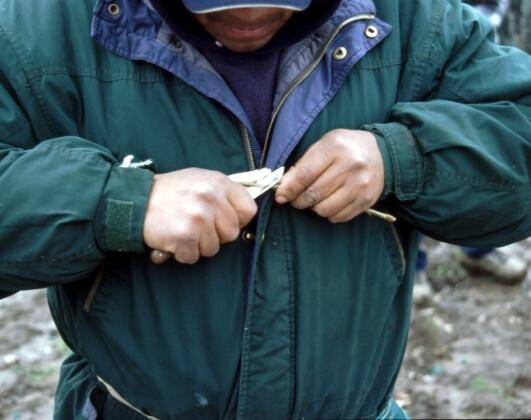
The graft is wrapped in plastic grafting tape and the cut and exposes surfaces of the graft are covered with grafting wax.

Photo of a technician wrapping graft with grafting tape.

Photo of a graft that has been wrapped with plastic grafting tape, and the exposed surfaces of the graft covered with grafting wax.


Click on the button below to see the side wedge grafting video.