The whip-and-tongue graft is a form of detached scion grafting.
When done properly, it can be a very successful graft because it lines up a large amount of cambium from the scion and rootstock. It also forms a strong graft.
This graft is similar to a splice graft, except that a second reverse "tongue" cut is made in both the scion and rootstock that allows the partners to fit tightly together.

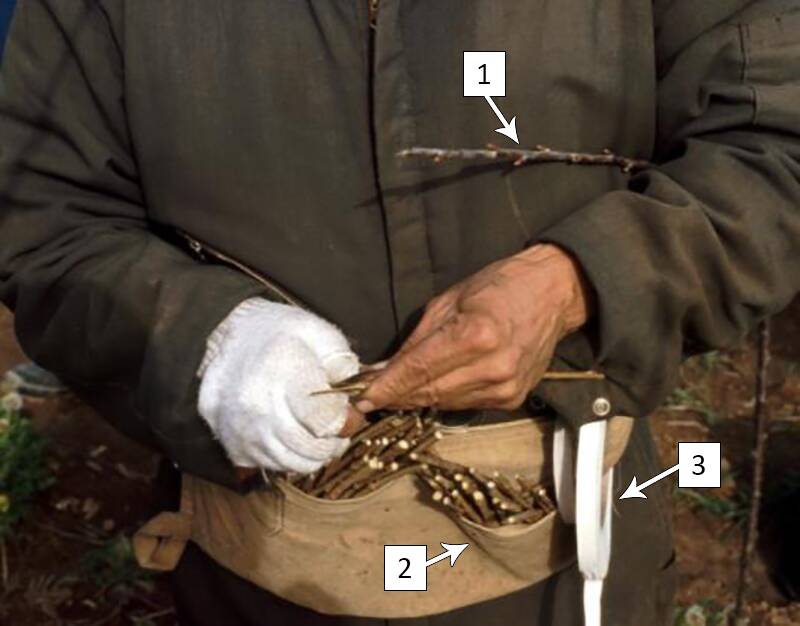
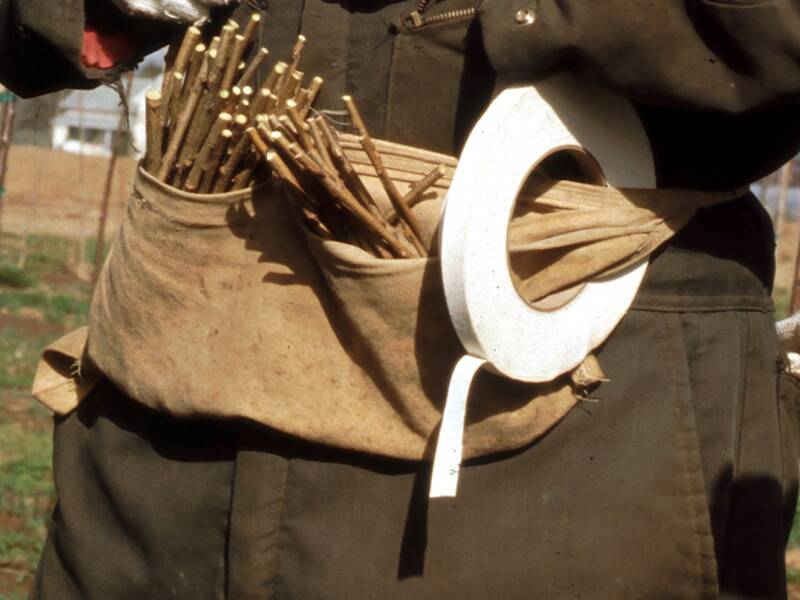
A top graft used to make weeping cherry trees is a good example of a common whip-and-tongue graft. Illustrated to the right is a grafter performing this graft in the field. He has the rootstock, which is 8 feet tall, under his arm (arrow 1). His waist pouch contains a supply of scions (arrow 2) and his grafting tape (arrow 3).
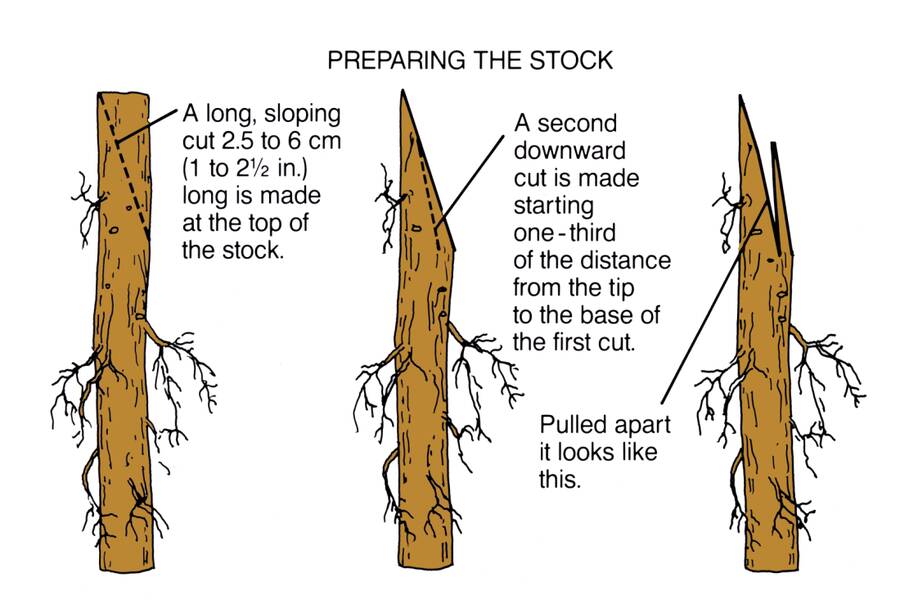
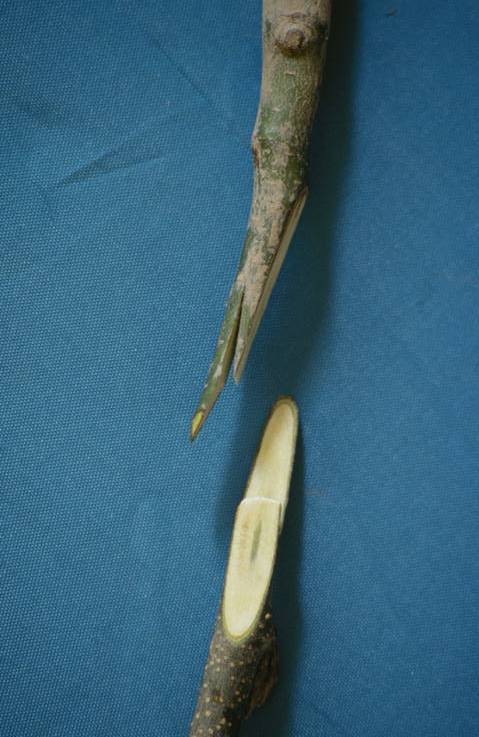
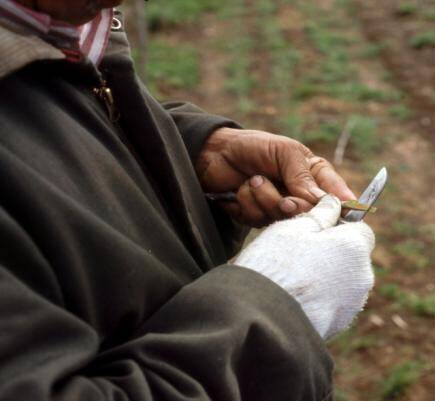
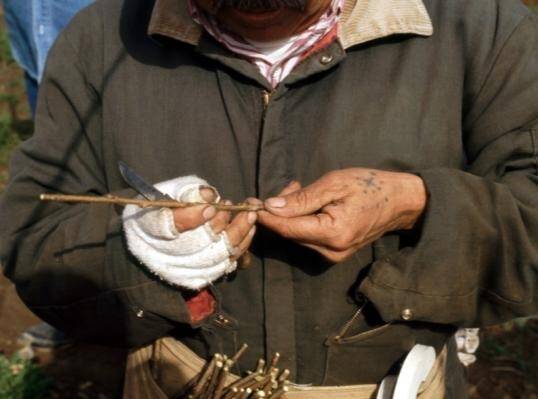
The scion is cut with a sharp grafting knife using a single motion. After the first cut, a second reverse cut is made three-quarters of the way into the first cut to form the tongue.
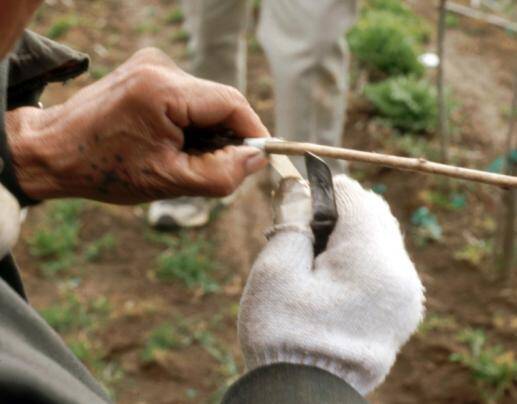
Making the first cut in the scion.
The second inward cut makes the tongue.
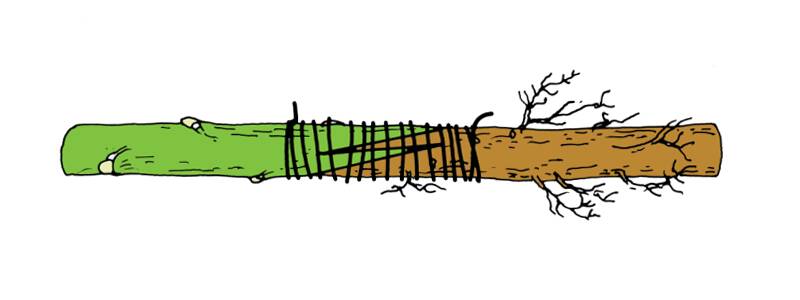
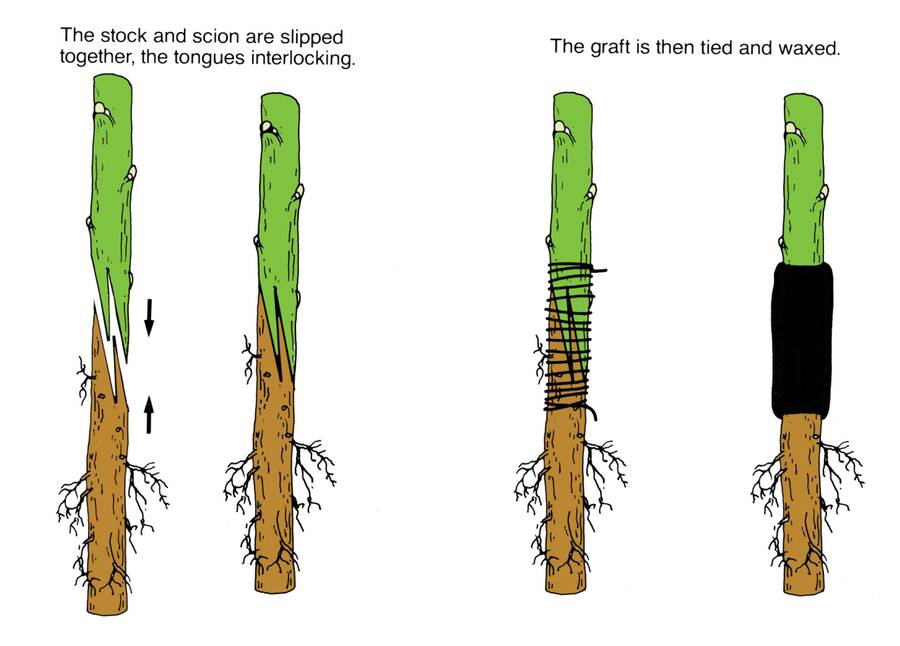
After making matching cuts in both the scion and rootstock, the two are joined together and wrapped with nursery tape. If the scion is smaller in diameter than the rootstock, then one side of the scion should be matched to one side of the rootstock.
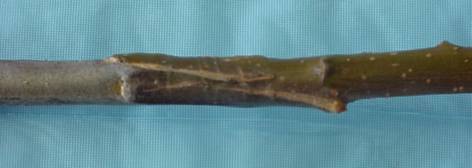
Joining the scion and rootstock together.
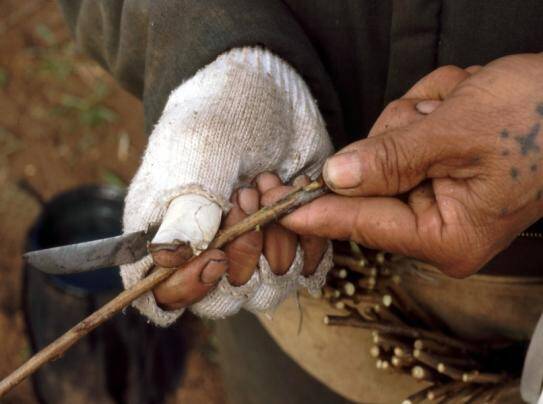
Aligning the cambial regions.
The graft is held in place with grafting tape.
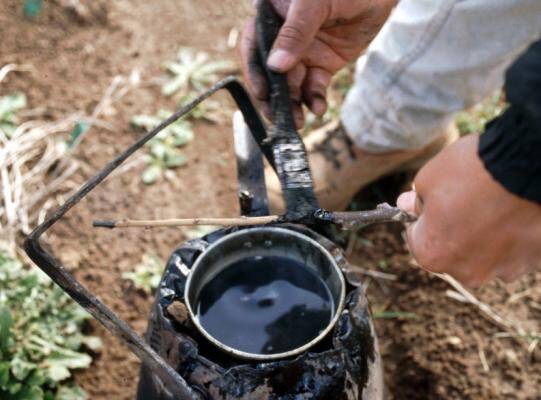
Since this is a field graft, it is important to cover the graft union with a grafting wax to prevent the cut surfaces from drying out. In this case, the propagators have chosen to use a hot wax. The wax is kept in a liquid state by using a warming pot. The wax should be hot enough to flow easily but not boiling hot which will damage the graft.