Micropropagation is the propagation of plants through tissue culture.
There are five stages to micro-propagation. These stages are:
- Stage 0: Donor Plant Selection
- Stage I: Establishment
- Stage II: Multiplication
- Stage III: Rooting
- Stage IV: Acclimatization
Stage I Establishment

Stage II multiplication
Stage III Rooting
Stage IV Acclimatization

Stage I - Establishment
During the establishment stage, the explant must be disinfested and stabilized.
The explant is usually sterilized with a combination of detergent and bleach. In difficult situations, alcohol or a fungicide may be used.
The objective of this stage is to get clean cultures that can begin the process of shoot multiplication.

Disinfesting explants in bleach
Initial explant
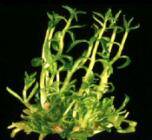
Micropropagation Stage II - Shoot multiplication
The objective of the shoot multiplication stage is to increase the number of shoots produced by the original explant.
By subculturing these new shoots on to new medium, the number of shoots produced in culture increases dramatically.
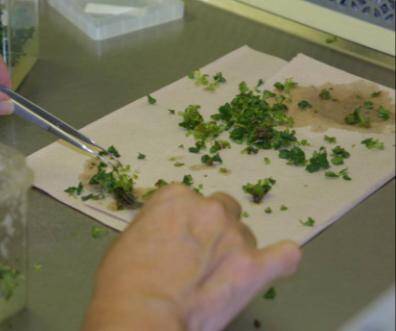
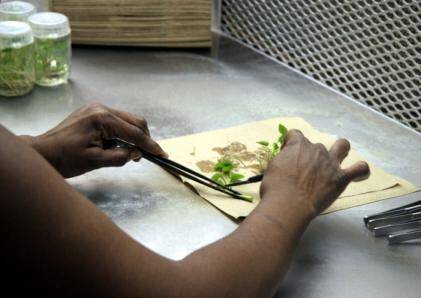
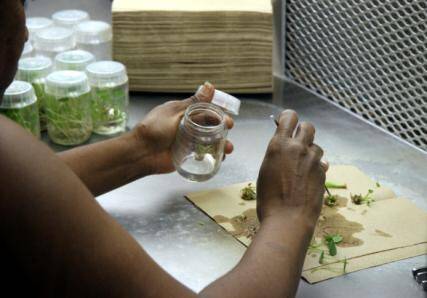
The technician is preparing to subculture. The culture or a portion of the culture is removed from the jar and placed on a sterile paper towel.
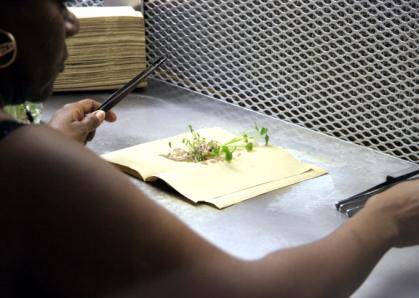
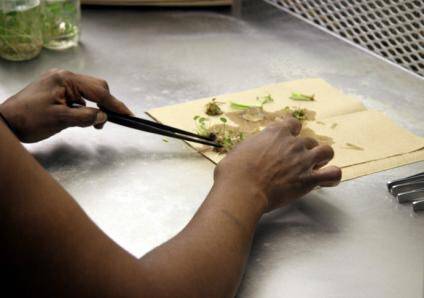
A scalpel and forceps are used to cut and separate the larger culture into smaller pieces for transfer to a new jar to complete the subculturing procedure.
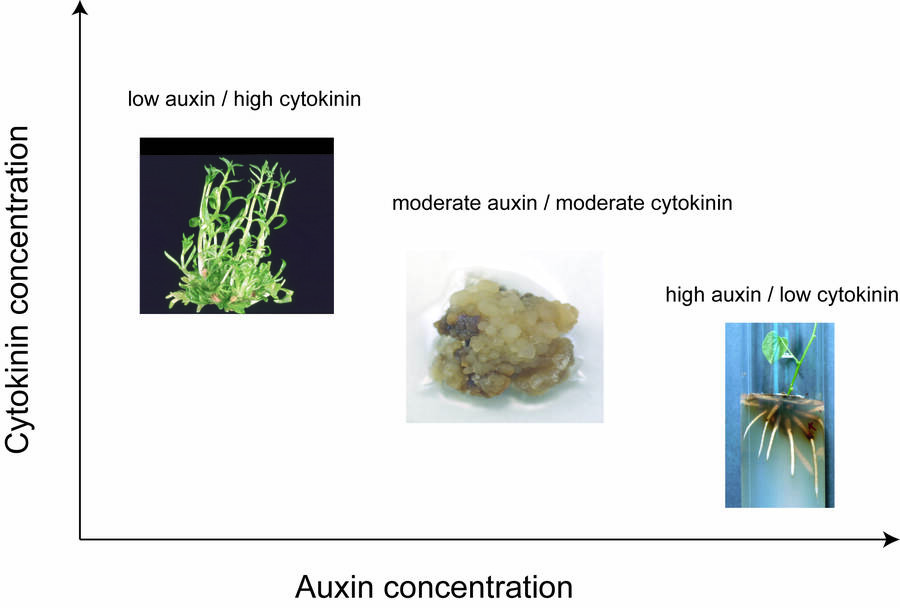
A high cytokinin to auxin ratio is used during the multiplication stage to induce axillary or adventitious shoot formation.
This ratio is decided upon by preliminary research.
Too high a concentration of cytokinin will result in a high number of adventitious shoots that do not elongate.
Common cytokinins used in culture are benzyladenine and kinetin.
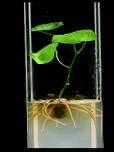
Micropropagation Stage III - Root formation
Shoots multiplied in culture must be rooted in Stage III in order to create a new plantlet.
In the rooting stage, microcuttings are induced to form roots - usually by application of auxin.
In general, species root easier in tissue culture than they do from conventional cuttings.
Microcuttings can either be rooted in vitro or ex vitro.
In general, microcuttings rooted ex vitro have a more normal root system and acclimatize to a normal growing environment better than cuttings rooted in vitro.
However, the propagator has more control over the rooting environment in vitro and this method may fit their production scheme better.

in vitro

ex vitro
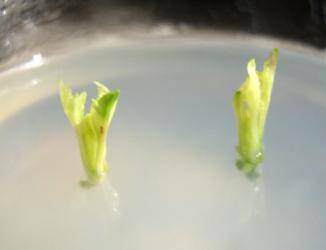
Microcuttings are inserted directly into the rooting substrate often using forceps to handle the small cuttings.
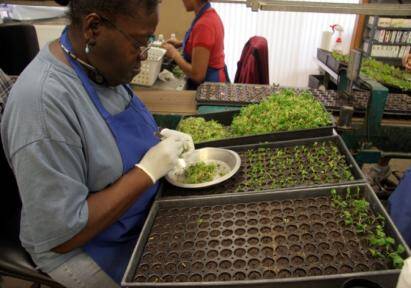
At each work station the technicians have their rooting flats, a syringe bottle to spray microcuttings periodically to keep them from drying out.
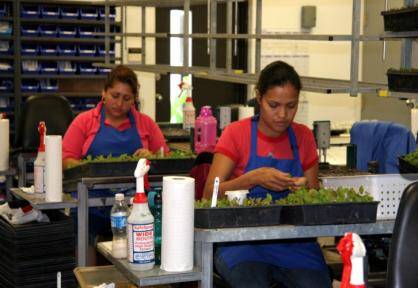
Technicians sticking microcuttings at a workstation.
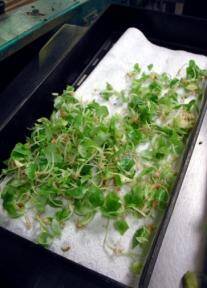
Microcuttings after the agar has been washed off.
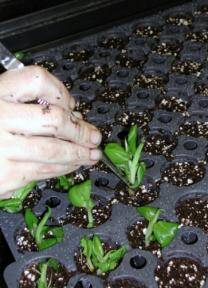
Sticking microcuttings.
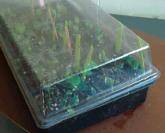
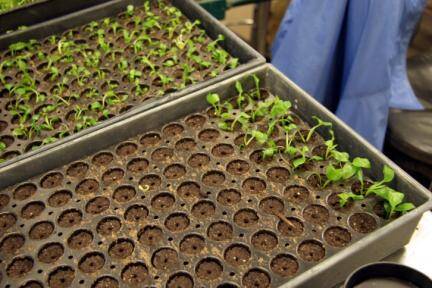
Micropropagation Stage IV - Acclimatization
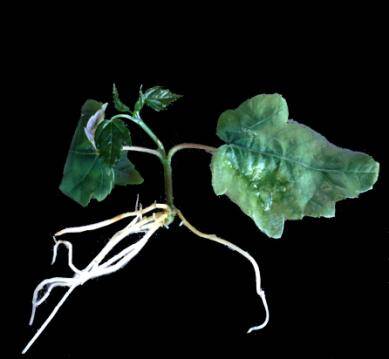
Finally, after roots have become well established on the microcutting, plantlets must be acclimatized to a normal growing environment in Stage IV.
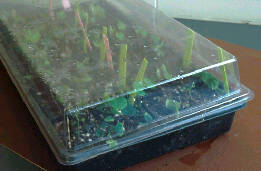
This involves gradually moving to open-air conditions where the humidity is reduced and the light levels increased.
This is a vulnerable stage for plantlet survival where the propagator can see large losses without proper acclimatization.
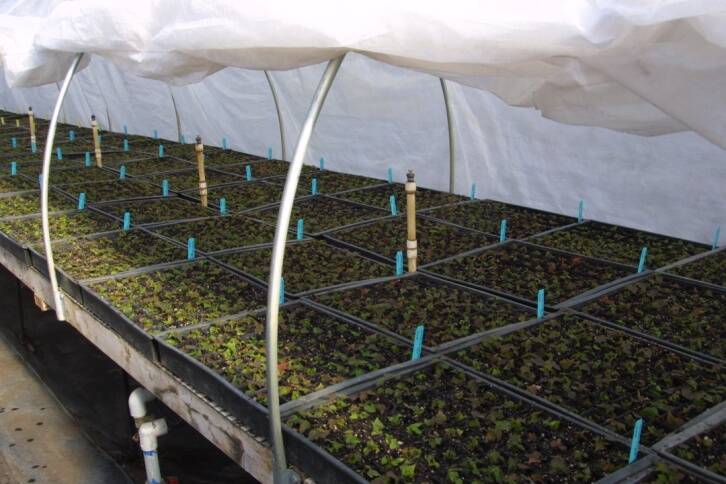
Rooted microcuttings being acclimatized using intermittent mist in a closed polyethylene tent.